
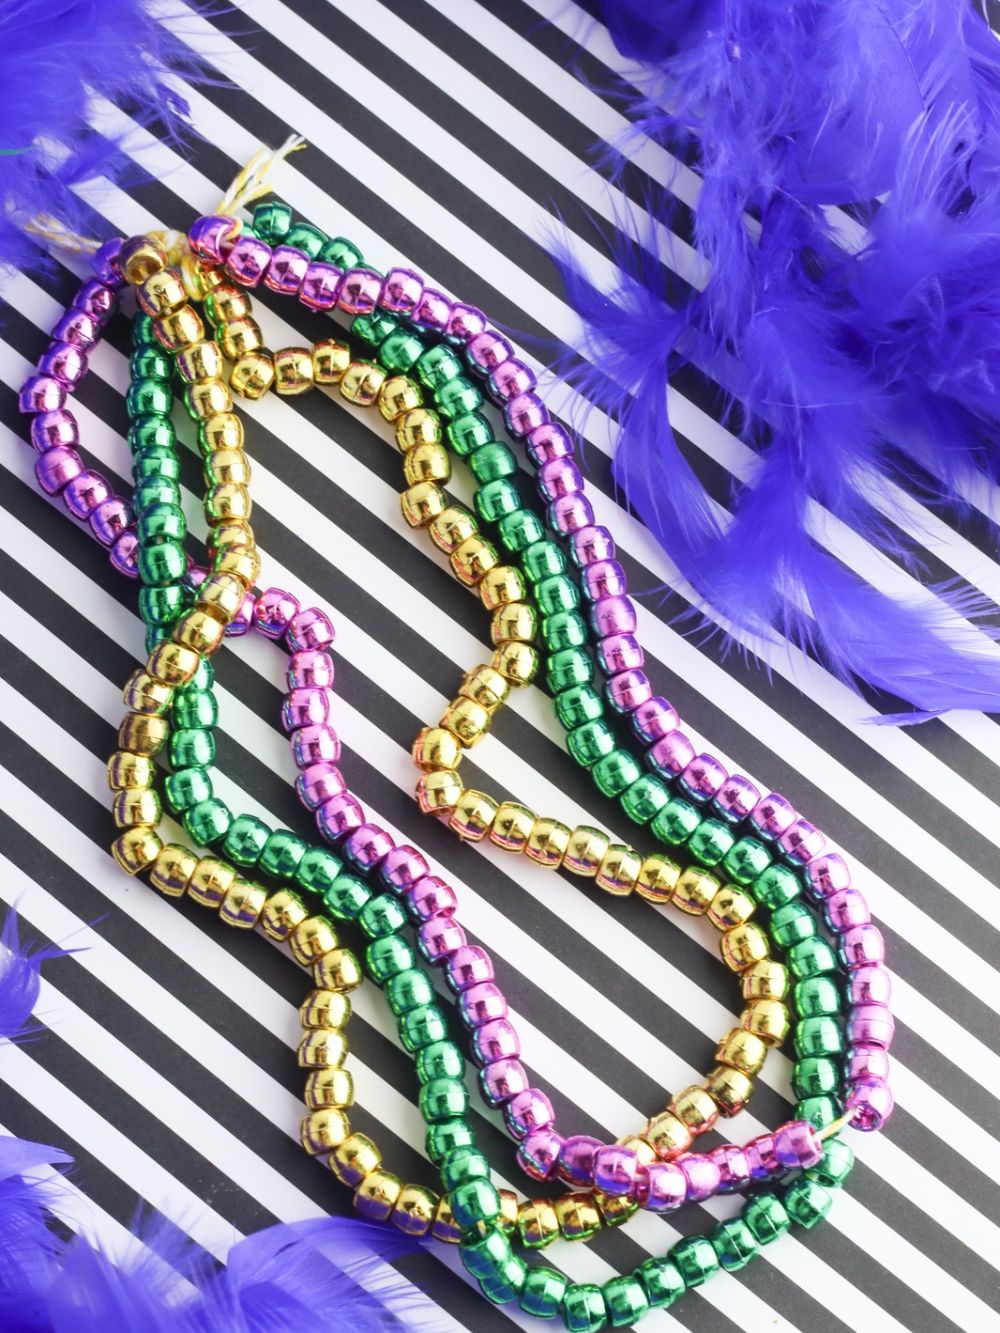
Budget-Friendly DIY Mardi Gras Beads Necklace
In this post, you will learn how to make these easy and budget-friendly DIY Mardi Gras beads necklaces! It’s so easy and fun that your kids will love making this craft with you! Oh, and you can find all of the material at your local dollar store.
Insanely Easy DIY Mardi Gras Beads Craft
Pin for later 📍
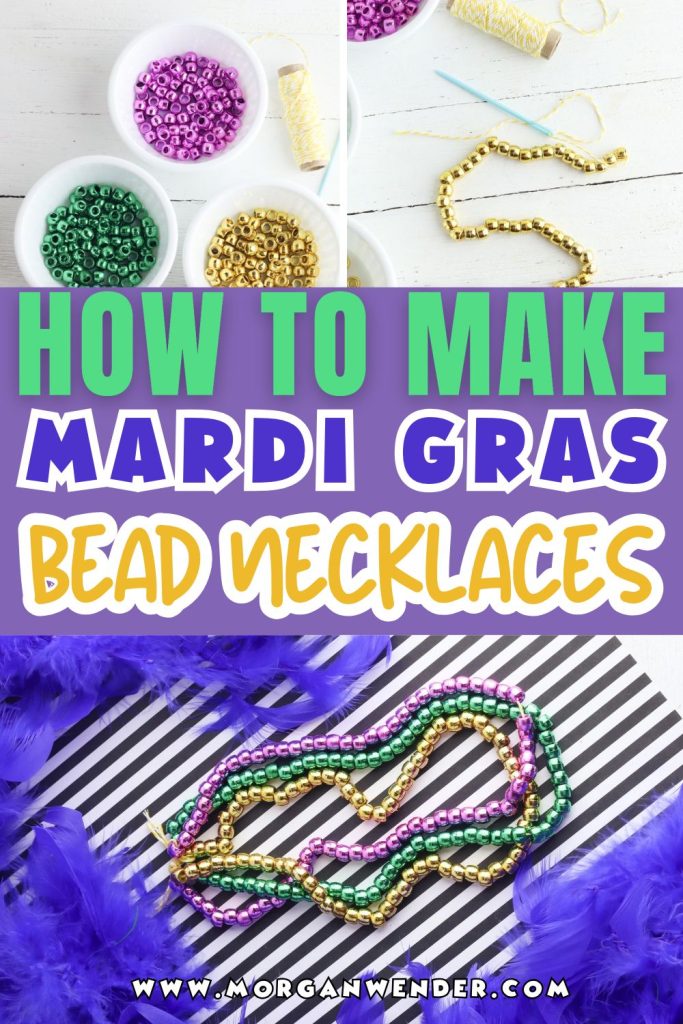
Have you ever thought about bringing the Mardi Gras spirit right into your living room?
This year, why not celebrate Mardi Gras with your kids by making your own festive beads at home? It’s a fun way to get everyone involved and a perfect craft project to keep those little hands busy.
Plus, when Fat Tuesday rolls around, your kiddos will have their own special string of beads to flaunt!
How To Make DIY Mardi Gras Beads Necklace
As a mom always looking to find ways to keep my kid having fun while using his creativity, I’ve spent countless afternoons crafting with my little one. I know how important it is to find projects that are both fun and safe!
I love sharing these ideas with other parents because I know how something little can bring lots of smiles into our homes.
Over the years, I’ve found that these simple, hands-on activities not only foster creativity but also create some fun memories.
This DIY Mardi Gras bead project is one of those gems that you’ll want to revisit year after year, maybe even making them or different holidays—like for St. Patrick’s Day!
Alright, let’s get into it!
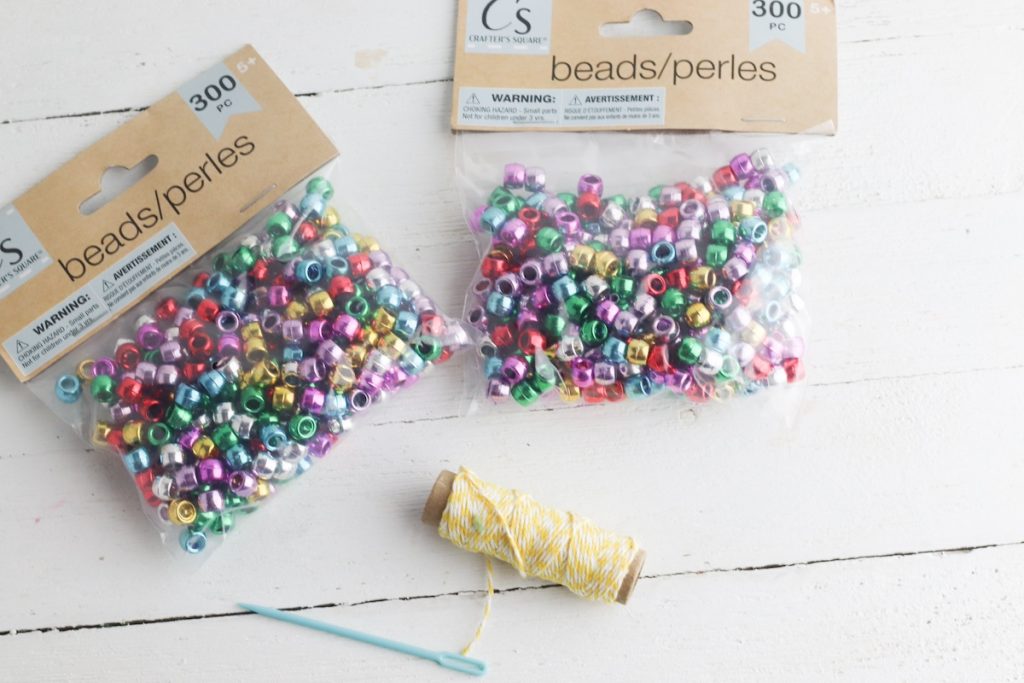
Supplies:
- Purple, green, and gold plastic beads
- String
- Plastic needle
Instructions:
Cut three pieces of string equal lengths. Tie all the strings together with a knot on one end.
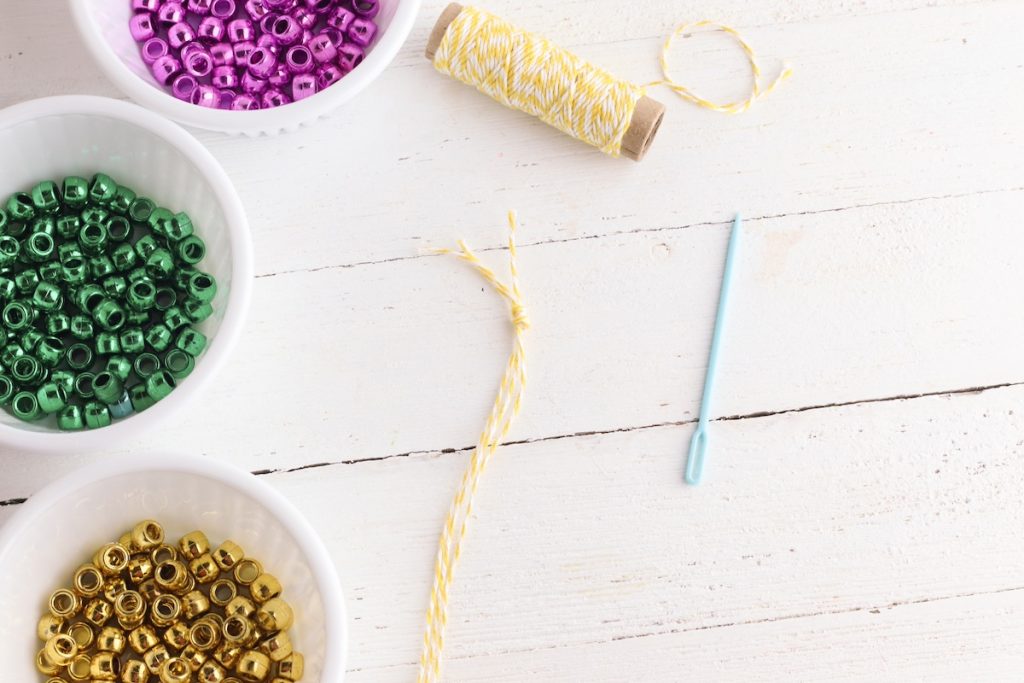
Place the needle on the end of one of the strings and thread the purple beads onto the string.
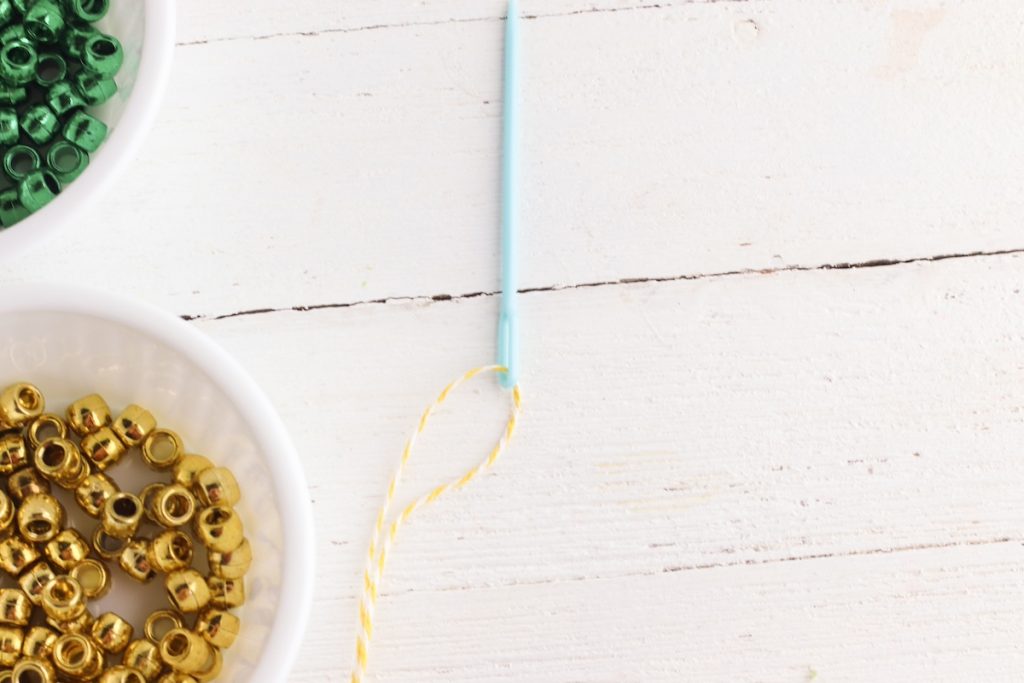
When the string is full, remove the needle and place it on the second string. Add the green beads to the second string and repeat the process with the gold beads on the third string.
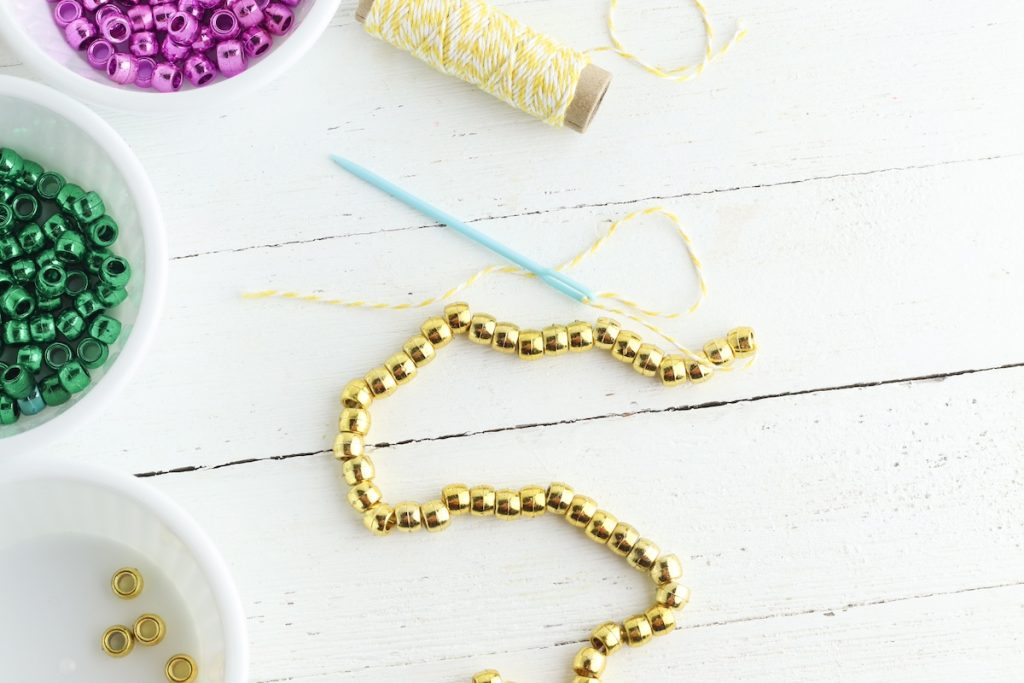
When all three strings are full, tie the three strands together with a knot on the end.
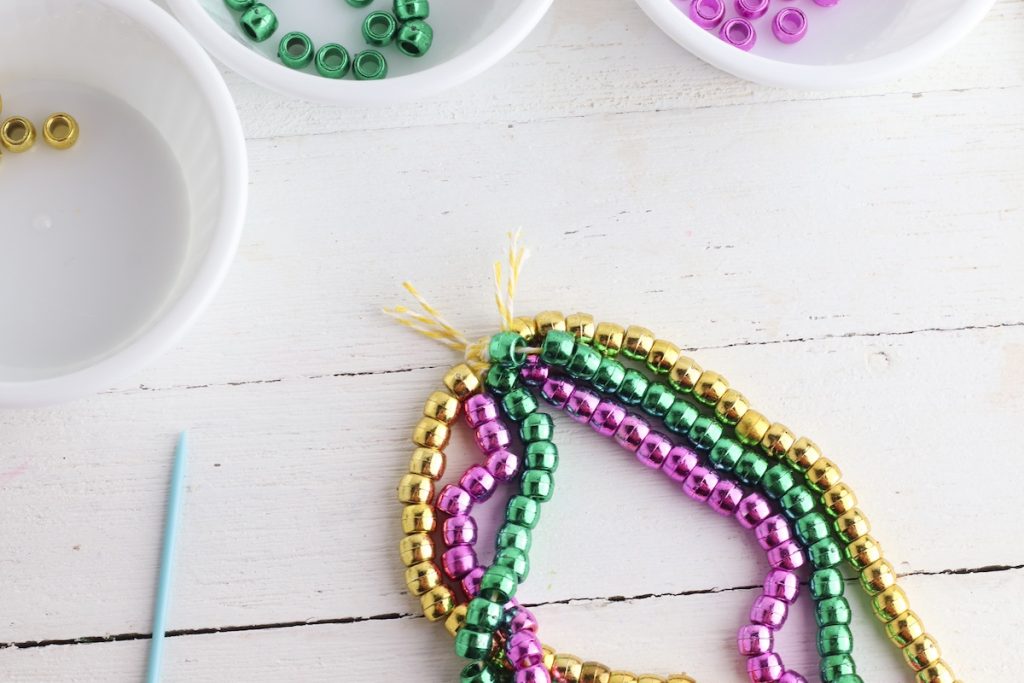
Then, loop the ends together and tie them with a knot to create a necklace. And that’s it! You have yourself a quick and easy Mardi Gras necklace!

Fun Add-Ons for Kids
One of the best parts about DIY crafts is the ability to make them your own. Once you’ve mastered the basic bead necklace, let your kids get creative by adding in some unique twists.
Here are a few ideas:
- Use a hot glue gun to add small fleur de lis charms or other Mardi Gras symbols to your beads.
- Incorporate colors for other holidays, like adding green beads for St. Patrick’s Day or red, white, and blue for a patriotic twist.
- Instead of a necklace, why not string your beads into a curtain to hang in a doorway? It’s a fun way to add some flair to your next party!
- Create a garland for your Christmas tree! You’ll need lots of beads and long string for this one!
Encouraging your kids to come up with their own ideas for customizing their beads is a great way to keep them engaged. Plus, it’s an opportunity to let their creativity shine.
Safety Tip: Be mindful of the small beads if you have very young children. These can be a choking hazard, so always keep an eye on them during the crafting process.
Final Thoughts
There you have it – such a fun and easy project for your next Mardi Gras party! Plus, it’s a festive way to bring Mardi Gras right into your home.
Making DIY Mardi Gras beads is not only a great craft project for kids, but it’s also a wonderful way to celebrate this lively holiday.
So go hit up your dollar store, gather your supplies, and try it out!
Did you try this DIY project? How did it turn out? I would love to hear all about it! Oh, and don’t forget to sign up for the newsletter for more ideas!
RELATED POSTS:


